Summary
This case study demonstrates a custom material billboard approach inside Unreal Engine's material graph. The available video suggests a practical material setup used to orient or present visual elements in a scene without relying only on standard billboard components.
System Breakdown
the thing is material billboard component is pretty useful right ? for couple of objects ( since its a component it should exist in an actor) but what if you want to spawn thousands of material billboards and render all of those in a frame ?
It will ruin your performance since you should spawn thousand of actors and each actor has atleast one material billboard component -> that means thousands of extra draw calls ! and also some vertex calculation each frame ! well we cant afford that in real time applications/games so lets dive in and find a solution for it.
First lets look at what are material billboard components and how those works under the hood in unreal engine ->
In short material billboard mostly used for debug purposes but generally those can be used for effects (sprites) that always maintain some size in screen space so in our case an emissive light that in reality is visible even from kilometers away but in game/render engines a tiny light kilometers away will definitely culled out or cant be rendered properly cause its sub pixel size ! you cant render something that is smaller than a pixel right ?
so material billboard component solution is that it will always maintain its size in screen space ( so it wont become sub pixel ) by calculating the vertices position of the sprite (quad) each frame and resize it corresponding to the screen dimension + some extra logic for opacity,facing camera,etc! That seems simple but if you multiply the cost by 1000x 2000x it can definitely be multiple "ms" in your rendering pipeline. Also using of material billboard force the RHI to register new meshes each frame which tank the CPU.
Unreal Engine Code/Logic
Unreal engine code/logic :
- Engine\Source\Runtime\Engine\Classes\Components\MaterialBillboardComponent.h
- Engine\Source\Runtime\Engine\Private\Components\MaterialBillboardComponent.cpp
Roughly each render frame/view, for every visible Material Billboard component:
- Get billboard source position.
- Get camera-to-source vector and distance.
- Use camera axes so the quad faces the camera.
- Calculate size from BaseSizeX/Y, distance size curve, and screen/world-space mode.
- Calculate opacity from distance opacity curve.
- Write 4 quad vertex positions/UVs/colors.
- Submit the quad as a dynamic render mesh batch.
So if you have:
- 100 material billboard components
- 1 view
- 1 element each
You get about:
- 100 GetDynamicMeshElements proxy submissions
- 100 quads
- 400 generated vertices
- 100 mesh batches
Ingredients
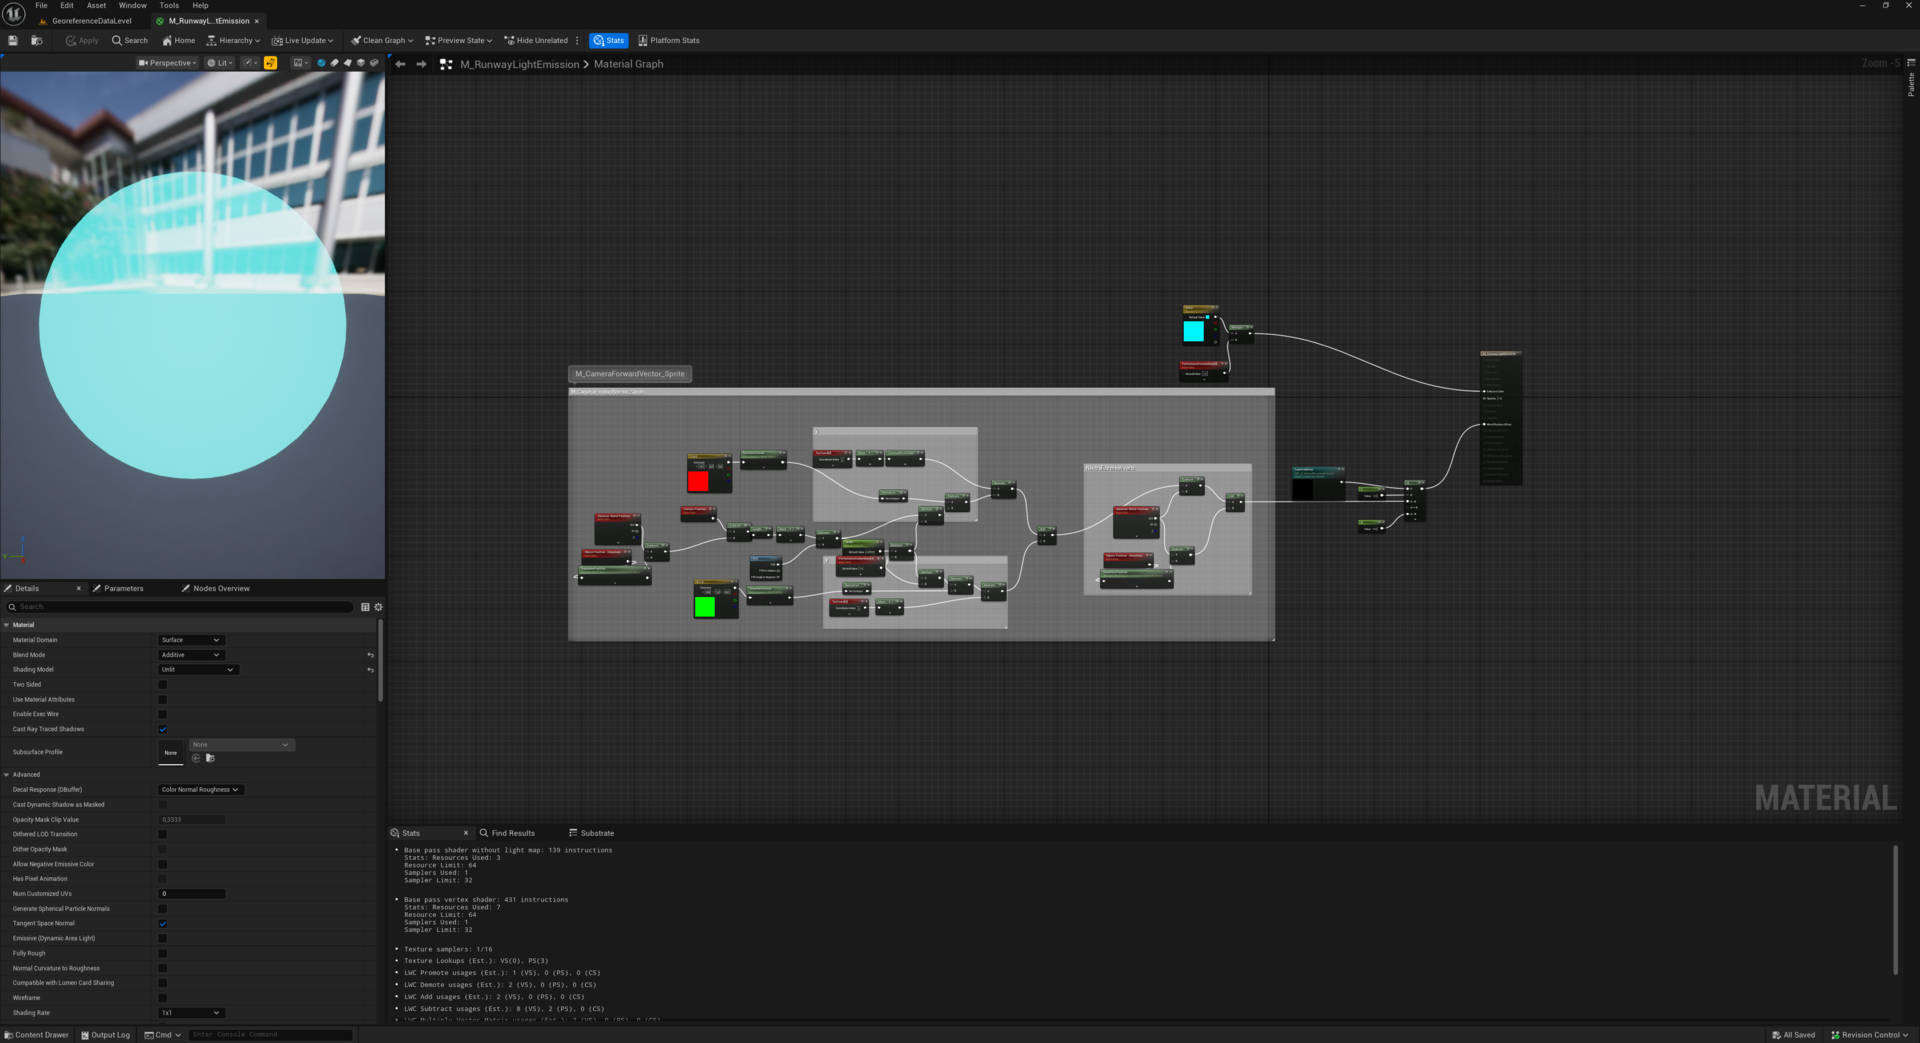
As you can see all the ingredients needed for a material billboard do exist in material graph and gpu too !
- sprite billboard -> simple quad plane
- Camera world position
- Mesh(Sprit) world position
- Camera vector
- Screen size
- And vertex shader to manipulate the mesh -> WPO Material Property in Unreal engine material graph
Solution
So solution ->
Replicate material billboard logic in material graph:
as we are using instanced static meshes to make the system more performant we need to transform the "Object Position (Absolute)" to "Instance & Particle Space"
"Length (Camera Position - ObjectPosition)" will give us how far the billboard is from the camera
"Distance * FOV" helps to scale the billboards correctly when we are zooming or FOV of the camera changes
"PerInstanceCustomData * Width(material parameter)" able us to scale each instance independently if we want to
"float3(1,0,0) (constant vector) Transformed from local space to world space then normalized is the "World X direction"
"ConstantBiasScale (TexCoord.R,-0.5,2.0)" covert 0.0-1.0 UV to -1.0 - 1.0 range
"WorldXDirection * UV X Offset * BillboardSize creates horizontal vertex offset
We do the same for vertical direction
Since we are in instance space we need to add instance pivot to the calculated offset:
Subtract "AbsoluteWorldPosition" ( assume this is vertex world position) from Calculated "WorldPositionOffset" then Add it to "AbsoluteWorldPosition" - ObjectPosition(transformed to Instance&ParticleSpace)
.png)
.png)
.png)